

When most people start working with plaster, the first thought is often about tools. Many assume plaster requires complex, professional equipment to handle correctly.
No, plaster does not need highly specialized tools, but it does require a specific set of basic tools—such as trowels, floats, hawks, and mixers—to achieve a smooth, durable finish.
In my years producing plaster and gypsum board systems, I’ve learned that having the right tools simplifies work, but true quality comes from following the correct system method—mixing ratio, layer timing, and finishing process.
What Tools Do I Need for Plaster?
Many new installers start with just a trowel and discover halfway through that plastering isn’t only about spreading—it’s about timing, surface control, and edge precision.
You’ll need a hawk, plastering trowel, mixing drill or paddle, float, corner trowel, joint knife, and sanding tools. These allow accurate application, smoothing, and correction before the plaster sets.
Understanding Each Tool’s Role
When I first trained plaster teams, I noticed many underestimated how each tool fits into sequence. A complete system isn’t about owning every device—it’s about using the right one at the right time.
| Tool Name | Function | Notes |
|---|---|---|
| Hawk | Holds plaster while applying | Keeps flow continuous |
| Trowel | Levels and smooths plaster | Must stay clean and flexible |
| Mixing Drill / Paddle | Blends plaster and water evenly | Ensures correct consistency |
| Float | Polishes large flat surfaces | Maintain even pressure |
| Corner Trowel | Forms sharp internal and external edges | Saves later sanding time |
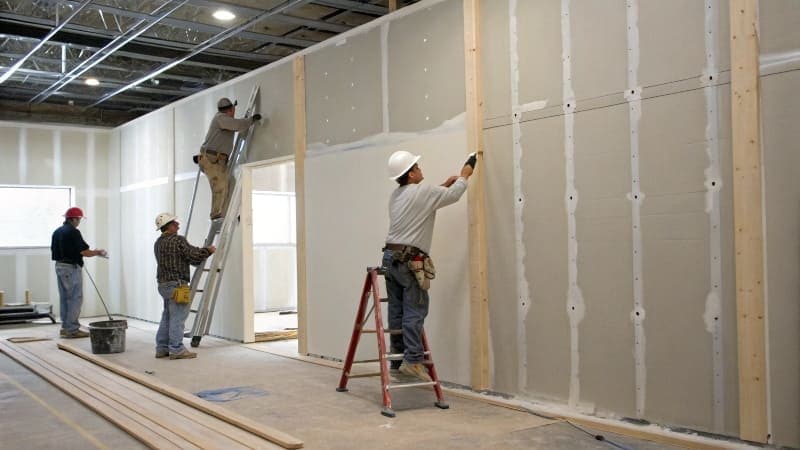
| Joint Knife | Spreads compound between boards | Prevents crack lines |
| Sanding Block / Mesh | Final surface correction | Used after drying |
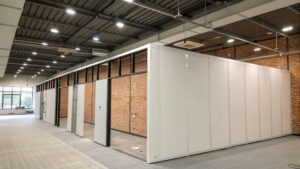
Having these tools guarantees even application, fewer air gaps, and professional-grade finishing—especially when working across large wall surfaces or dry mix products.
What Tool Is Used to Apply Plaster?
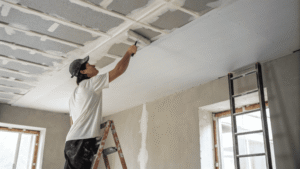
Installers often focus on mixers or drills, but the real star of plastering is the trowel—the tool that brings texture control, finish smoothness, and surface strength together.
The main tool used to apply plaster is the plastering trowel. Combined with a hawk for carrying and loading material, it spreads and shapes the plaster layer uniformly over surfaces.
How the Application Process Works
In every hands-on project I’ve supervised, the way plaster is moved from hawk to wall defines the final look. Smooth transitions with even layers reduce sanding and result in flawless surfaces.
- Load plaster onto hawk to control working amount.
- Transfer to trowel with a clean edge motion.
- Apply with upward or sweeping strokes starting from bottom corners.
- Smooth across overlaps while maintaining compression pressure.
- Use a float during semi-set phase to compact and remove imperfections.
Correct trowel handling determines both adhesion and final flatness, making it the most critical tool in the plastering process.
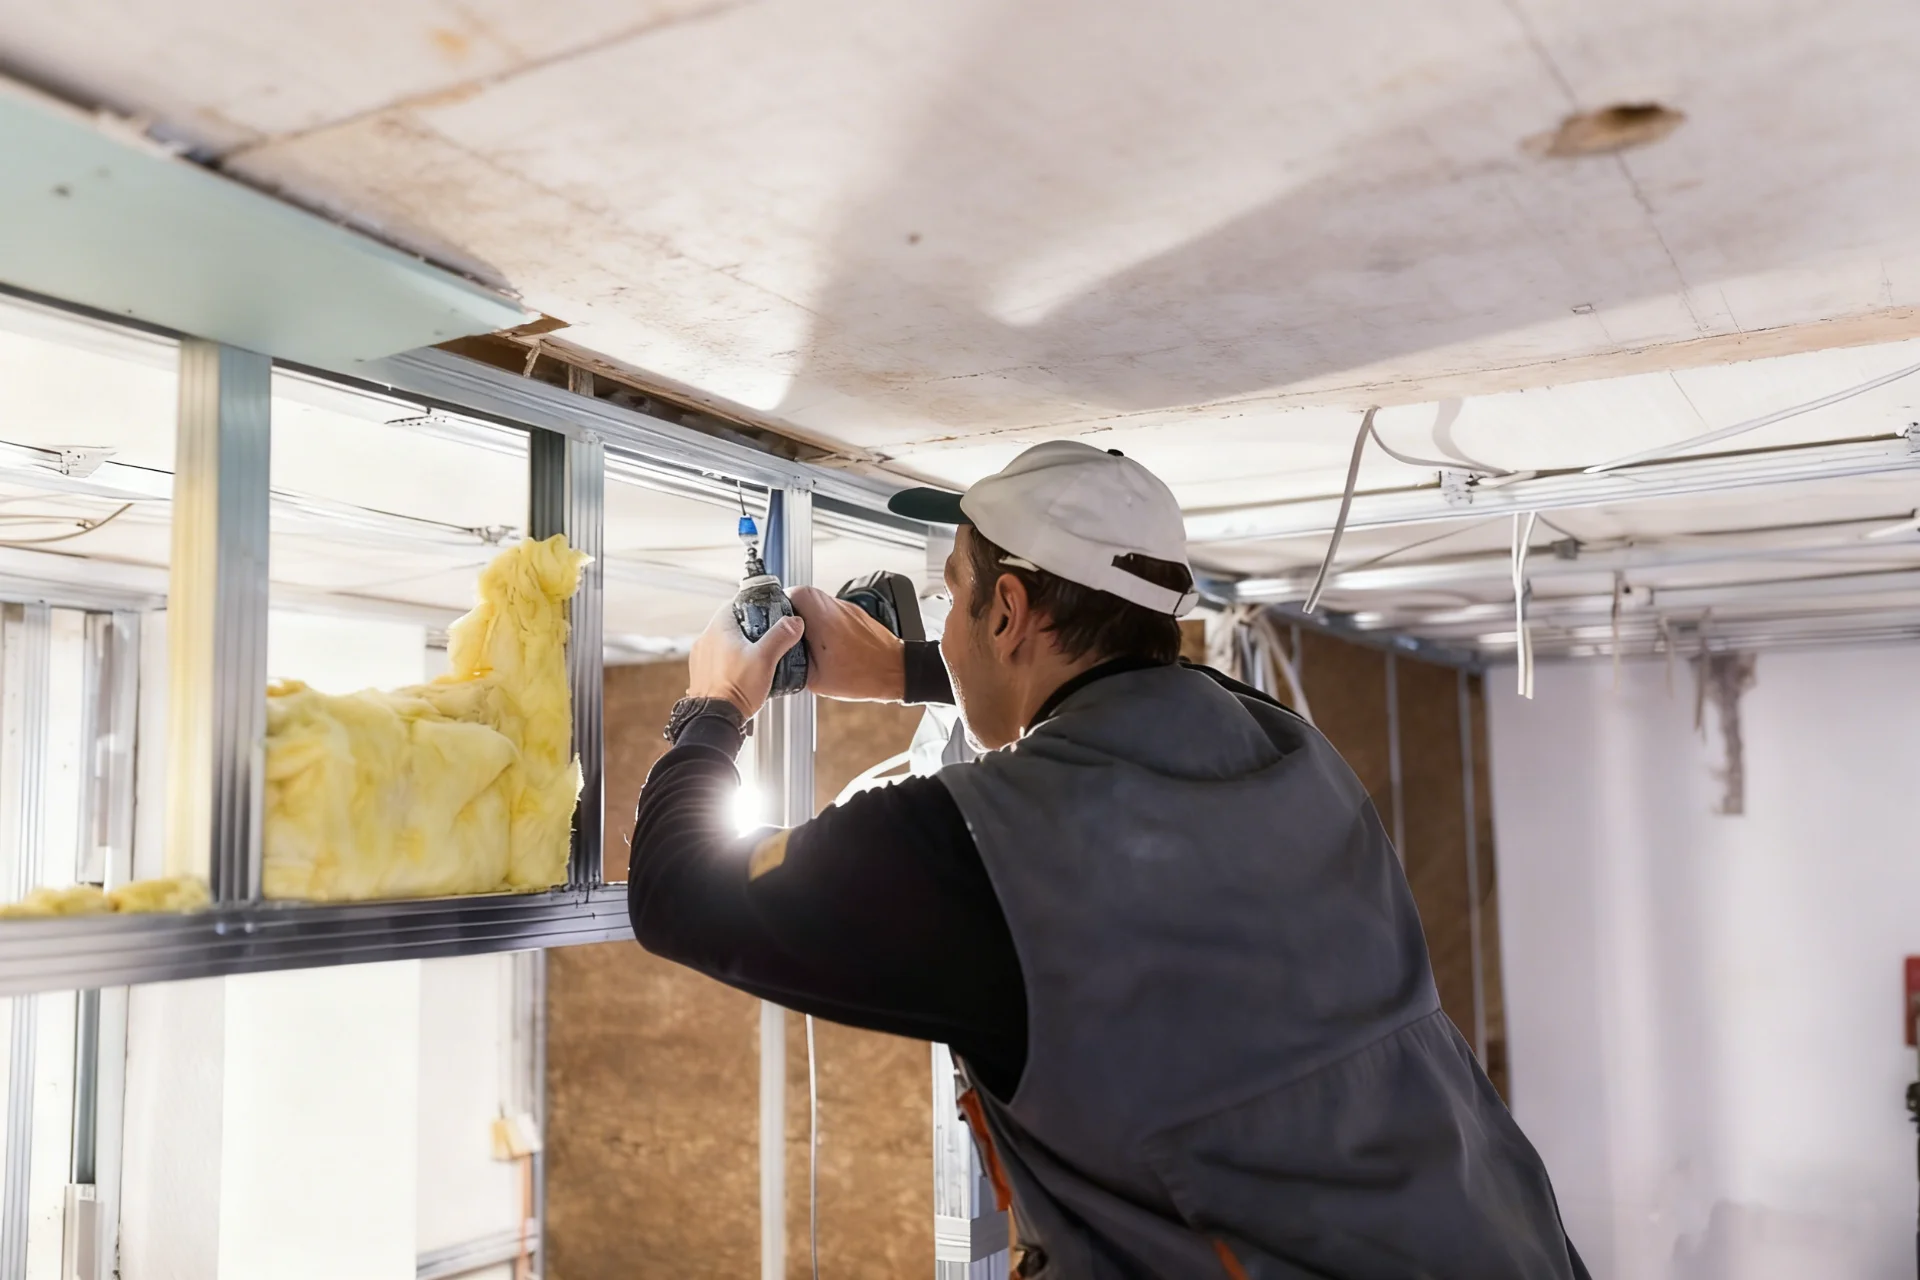
Do You Need a Special Drill Bit for Plaster Walls?
When drilling into plaster walls for mounting shelves, artwork, or fixtures, many people fear damaging the finish. The right bit ensures clean holes without cracks.
You don’t need a “special” drill bit for plaster walls, but you should use masonry or multi-material bits with proper speed control and avoid hammer mode to prevent surface cracking.
Safe Drilling Practices for Plaster Walls
From years providing gypsum systems, I’ve seen most surface cracks happen due to impact drilling or incorrect pressure. Plaster, though tough, behaves differently from concrete—it needs steady rotation and low vibration.
Bit Type: Use a carbide-tipped masonry bit—its durability prevents chipping around edges.
Speed Control: Run the drill at a medium pace. Too fast causes heat and surface stress; too slow fails to grip efficiently.
Avoid Hammer Function: Impact mode may shatter thin finishes or loosen fixings behind panels.
Anchors: Choose appropriate wall plugs or toggle anchors depending on wall base type (solid plaster vs gypsum board).
| Wall Type | Recommended Bit | Drilling Mode | Anchor Type |
|---|---|---|---|
| Solid Plaster Wall | Carbide masonry bit (6–8 mm) | Standard rotation only | Plastic wall plug |
| Gypsum Board | Multi-material bit | Low-speed rotation | Toggle anchor |
| Double Plaster Layer | Masonry bit (8–10 mm) | Light pressure | Expanding anchor |
| Decorative Finishes | Small pilot bit | No hammer | Nylon anchor |
When handled with the correct bit and technique, plaster walls maintain surface quality and strength even after multiple installations.
Conclusion
Plaster installation doesn’t demand highly special tools, but it requires the right set used correctly. You’ll need trowels, floats, mixers, and hawks for smooth application. The plastering trowel remains the key tool, while drilling into plaster walls only needs steady control and standard masonry bits. In short, tools alone don’t define quality—system consistency and installer skill make any plaster finish last beautifully and perform reliably within the larger construction framework.