

When you want better insulation without tearing apart your walls, insulated plasterboard can look like the perfect answer.
Insulated plasterboard combines standard plasterboard with a layer of insulation, making it a quick way to improve energy efficiency without adding extra steps in construction.
If you have ever renovated a room while living in it, you know dust, noise, and long construction times can be a nightmare. Insulated plasterboard cuts down disruption because it does two things at once — finishing the surface and improving insulation. But like all materials, it has rules. If you follow them, it can serve you well. If you ignore them, you may face troubles like damp and mold.
Can plasterboard be used for insulation?
Some think plasterboard on its own can insulate, but that is not true.
Plain plasterboard has almost no insulation value. To insulate, it must have a layer of foam or other insulating material bonded to it.
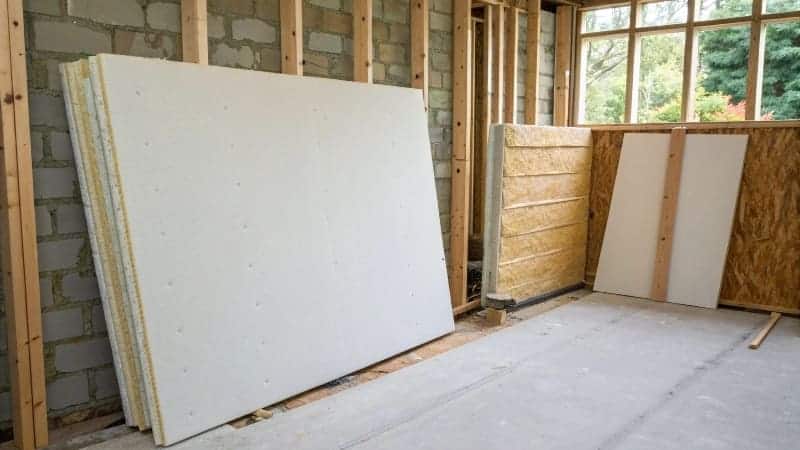
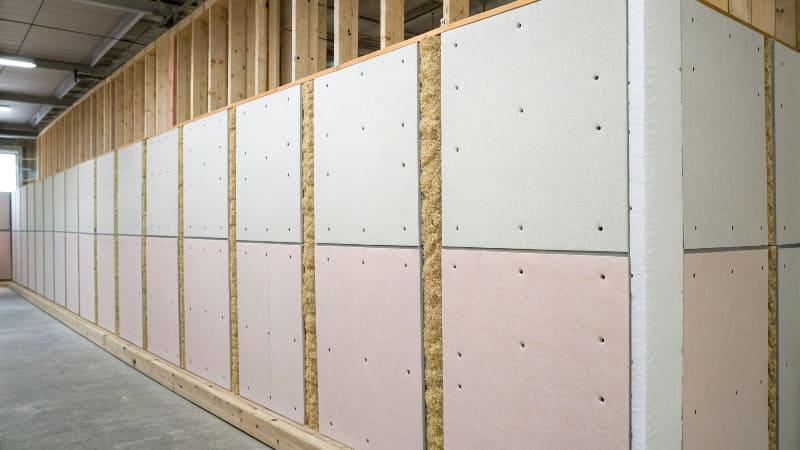
To understand this, let’s break it down. Gypsum, which is the main content of plasterboard, has a low thermal resistance. A simple sheet will not stop your room from losing heat. Insulated plasterboard solves this by bonding a layer of thermal insulation like PIR foam, EPS foam, or phenolic foam to the back. This gives you both a smooth finish and a thermal barrier in one sheet. It is especially useful when external insulation is not possible, such as in heritage buildings or when the outside facade cannot be changed.
Here’s a quick comparison table of common insulation materials used in insulated plasterboard:
| Insulation Type | Thermal Conductivity (W/m·K) | Fire Resistance | Common Use Case |
|---|---|---|---|
| PIR Foam | 0.022–0.026 | Good | High-performance energy upgrades |
| EPS Foam | 0.032–0.038 | Moderate | Cost-effective wall upgrades |
| Phenolic Foam | 0.018–0.023 | Excellent | Space-saving insulation in restricted areas |
I often explain to customers that the plasterboard itself is just the delivery system — it carries the real insulating layer into place.
What is insulating plasterboard?
People often confuse insulated plasterboard with standard plasterboard.
Insulating plasterboard is a factory-laminated product where a sheet of plasterboard is bonded to a backing of solid thermal insulation.
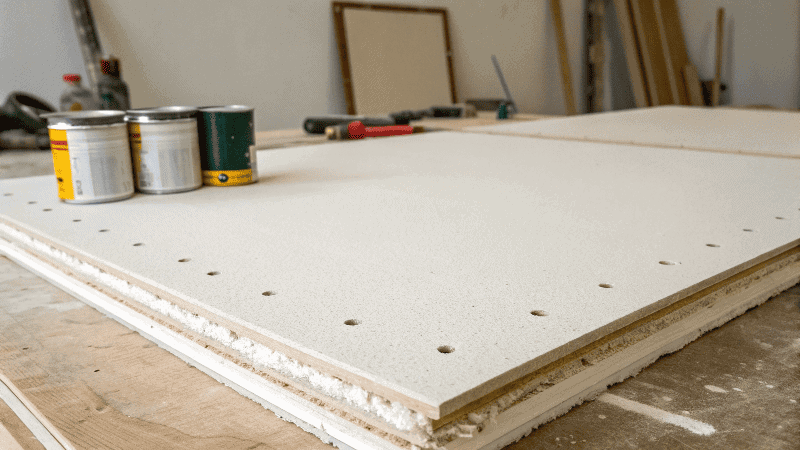
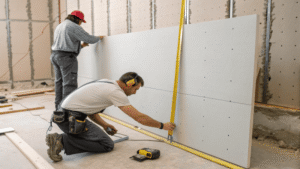
Think of it as a sandwich: plasterboard on the front, insulation on the back. The result is a single board that can be fixed directly to internal walls, ceilings, or even metal stud partitions. This saves the need for separate framing, battening, or fitting insulation slabs. The boards come in various thicknesses — often from 22mm to over 70mm in total — depending on insulation requirements.
From my own experience, this product shines in retrofit projects. I once worked with a client who could not add insulation to the outside of their old building due to city regulations. We lined the inside with PIR-backed plasterboard, and winter heating costs dropped by almost 30%. The speed of installation is another major plus. In one day, you can transform a bare brick wall into a smooth, insulated surface ready for painting.
| Total Board Thickness | Approx Insulation Value (R-Value) | Best For |
|---|---|---|
| 22–37mm | Low improvement, compact spaces | Small rooms |
| 40–55mm | Moderate improvement | Standard retrofits |
| 60mm+ | High performance | Harsh climates |
The key is balancing insulation thickness with available space — too thick, and you lose room size; too thin, and the gains are marginal.
Can damp get through insulated plasterboard?
This is the question many people ask after hearing about condensation issues.
Yes, damp can affect insulated plasterboard if moisture control measures are not in place during installation.
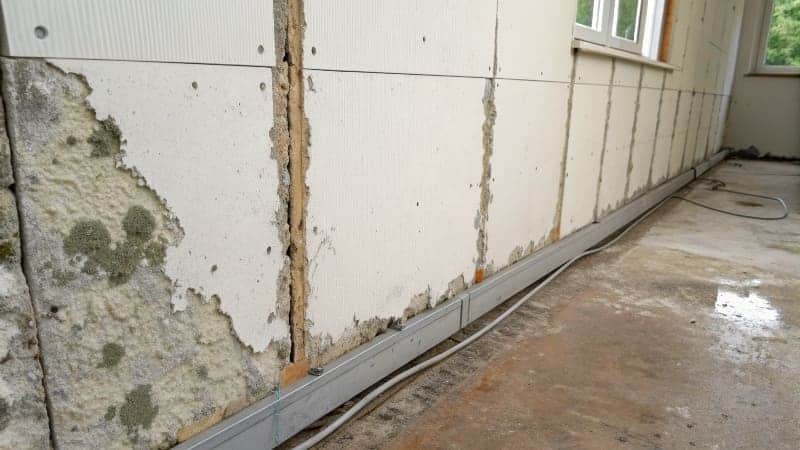
The main risk is not water soaking through the product from the surface but condensation forming behind it. Warm air inside a home holds moisture. When it meets a cold wall behind the insulation, the moisture can condense into water droplets. Over time, this trapped dampness can cause mold and structural damage. I learned this lesson years ago with a client in a humid southern city. There was no vapor control layer installed. After one year, mold was visible on the wall surface.
In moist climates, you must add a vapor control membrane between the insulation and the interior space and ensure good air circulation. In drier northern climates, the risk is much lower, though I still advise sealing all joints to avoid air leakage. Another smart move is using insulated plasterboard with integrated foil backing, which acts as a vapor barrier. Here’s a quick breakdown for safe installs based on climate:
| Climate | Risk Level | Needed Protection |
|---|---|---|
| Dry (Cold Winter) | Low | Foil-backed board recommended |
| Mixed (Seasonal Humidity) | Medium | Vapor barrier + proper sealing |
| Humid (Year-round) | High | Vapor barrier + mechanical ventilation |
By respecting these rules, you can prevent costly damp issues and enjoy the benefits of warm, comfortable walls.
Conclusion
Insulated plasterboard works well when installed right, in the right climate, with the right damp protection in place.