

Avoid drywall taping bubbles through proper joint compound consistency (peanut butter texture), controlled application speed, adequate environmental conditions (65-75°F, 40-60% humidity), and systematic technique using consistent pressure and thin base coats for optimal adhesion. Professional taping technique prevents air entrapment and ensures smooth, bubble-free seams.
TRUSUS bubble prevention insight: eliminating drywall taping bubbles requires understanding material properties, environmental factors, application techniques, and quality control measures for professional-grade seam finishing results.
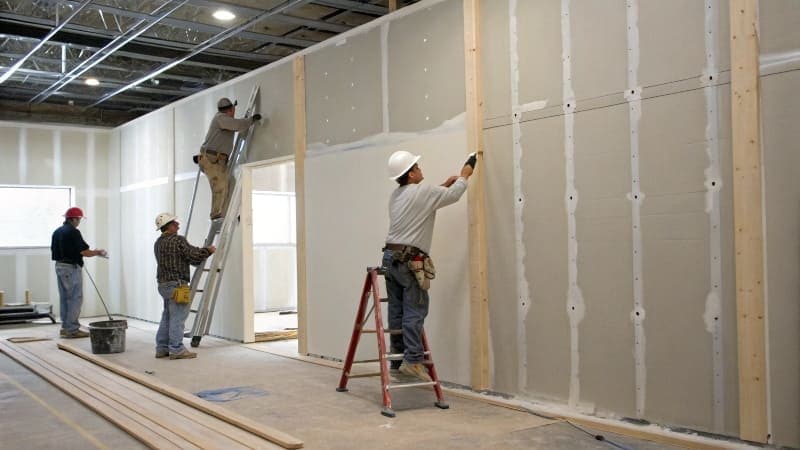
I increasingly see professional contractors implement systematic bubble prevention techniques as finishing quality standards rise and customer expectations demand flawless results.
Understanding bubble prevention ensures consistent, professional-quality drywall finishing with minimal defects and rework.
Joint Compound Preparation
| Preparation Factor | Standard Practice | Bubble Prevention Method | Quality Impact | Professional Technique |
|---|---|---|---|---|
| Mixing consistency | Basic stirring | Thorough, bubble-free mixing | Uniform texture | Mechanical mixing preferred |
| Water content | Manufacturer ratio | Precise measurement | Proper workability | Gradual water addition |
| Working time | Extended periods | Fresh compound batches | Consistent performance | Time management |
| Temperature conditioning | Room temperature | Pre-conditioning materials | Optimal flow characteristics | Climate control |
Proper compound preparation eliminates air incorporation and ensures optimal working properties.
Application Technique Optimization
| Technique Factor | Basic Method | Professional Approach | Bubble Prevention | Quality Advantage |
|---|---|---|---|---|
| Base coat thickness | Variable | Thin, uniform layer | Minimized air trapping | Consistent adhesion |
| Application speed | Fast coverage | Controlled, steady pace | Reduced air entrapment | Smooth application |
| Knife pressure | Heavy pressure | Consistent, moderate force | Even distribution | Proper embedding |
| Overlap technique | Random overlap | Systematic progression | Seamless transitions | Professional appearance |
Systematic application technique prevents air entrapment and ensures consistent quality.
Environmental Control Requirements
| Environmental Factor | Problematic Conditions | Optimal Conditions | Bubble Prevention Benefit | Control Methods |
|---|---|---|---|---|
| Temperature | <60°F or >80°F | 65-75°F | Proper compound flow | HVAC control |
| Humidity | <30% or >70% | 40-60% RH | Controlled drying | Dehumidification |
| Air movement | Excessive drafts | Minimal air circulation | Even drying rates | Draft elimination |
| Lighting | Poor visibility | Adequate illumination | Quality verification | Proper lighting setup |
Environmental control ensures optimal compound performance and prevents defect formation.
TRUSUS Material Compatibility Analysis
| Material Factor | Compatibility Issue | Quality Solution | Performance Benefit | Selection Criteria |
|---|---|---|---|---|
| Tape quality | Poor adhesion | Premium tape products | Superior bonding | Manufacturer certification |
| Compound grade | Inconsistent performance | Professional-grade materials | Reliable results | Performance specifications |
| Surface preparation | Poor substrate | Proper priming/sealing | Enhanced adhesion | Substrate compatibility |
| System integration | Component mismatch | Matched system products | Optimized performance | Manufacturer recommendations |
Material compatibility ensures optimal system performance and defect prevention.
Quality Control Checkpoints
| Quality Check | Inspection Method | Defect Prevention | Correction Method | Professional Standard |
|---|---|---|---|---|
| Base coat inspection | Visual examination | Bubble identification | Immediate correction | Zero-defect tolerance |
| Tape embedding | Physical verification | Proper adhesion | Re-embedding if needed | Complete contact |
| Surface smoothness | Light raking | Texture uniformity | Additional passes | Professional finish |
| Drying assessment | Touch test | Proper cure | Controlled environment | Optimal timing |
Systematic quality control prevents defects and ensures professional-grade results.
Tool Selection and Maintenance
| Tool Category | Standard Option | Professional Choice | Performance Advantage | Maintenance Requirement |
|---|---|---|---|---|
| Taping knives | Basic knives | High-quality steel | Smooth application | Regular cleaning |
| Corner tools | Standard tools | Precision instruments | Accurate corners | Proper storage |
| Mixing equipment | Manual mixing | Mechanical mixers | Bubble-free compound | Equipment maintenance |
| Application aids | Basic supplies | Professional accessories | Enhanced control | Quality tools |
Professional tools and maintenance ensure consistent, high-quality application results.
Common Bubble Causes Analysis
| Bubble Cause | Formation Mechanism | Prevention Strategy | Professional Solution | Quality Assurance |
|---|---|---|---|---|
| Fast application | Air entrapment | Controlled speed | Systematic technique | Training protocols |
| Thick base coats | Air pockets | Thin, multiple coats | Layered approach | Quality standards |
| Poor mixing | Air incorporation | Proper mixing technique | Mechanical methods | Process control |
| Environmental issues | Rapid drying | Climate control | Optimal conditions | Monitoring systems |
Understanding bubble formation enables targeted prevention strategies and quality improvement.
Professional Remediation Techniques
| Defect Type | Assessment Method | Correction Technique | Quality Recovery | Prevention Enhancement |
|---|---|---|---|---|
| Surface bubbles | Visual inspection | Careful puncture/repair | Seamless correction | Technique improvement |
| Embedded air | Physical detection | Strategic removal | Complete repair | Process refinement |
| Large voids | Comprehensive check | Full section repair | Professional standard | System upgrade |
| Pattern defects | Systematic analysis | Root cause correction | Quality enhancement | Training reinforcement |
Professional remediation maintains quality standards and prevents recurring defects.
Why Bubble Prevention Matters
| Basic Taping Approach | Professional Bubble Prevention |
|---|---|
| Accept minor defects | Zero-defect quality standard |
| Basic technique application | Systematic prevention methods |
| Reactive problem solving | Proactive quality control |
Professional bubble prevention ensures superior finishing quality and customer satisfaction.
The Industry Shift Behind Quality Questions
| Traditional Taping Methods | Advanced Quality Systems |
|---|---|
| Basic defect tolerance | Professional quality standards |
| Experience-based techniques | Scientific prevention methods |
| Reactive quality approach | Systematic quality assurance |
I increasingly see professional contractors implement comprehensive bubble prevention systems that combine proper materials, controlled techniques, environmental management, and quality control for superior drywall finishing results.
What Causes Ripples In Drywall Tape?
Drywall tape ripples result from uneven base compound application, improper tape embedding pressure, moisture content variations, rapid drying conditions, and inadequate substrate preparation, requiring systematic correction through proper technique, environmental control, and quality materials. Ripple prevention demands understanding stress factors and implementing systematic installation techniques.
TRUSUS ripple prevention insight: drywall tape ripples involve complex interactions between materials, techniques, environmental conditions, and substrate preparation, requiring comprehensive analysis and systematic prevention approaches.
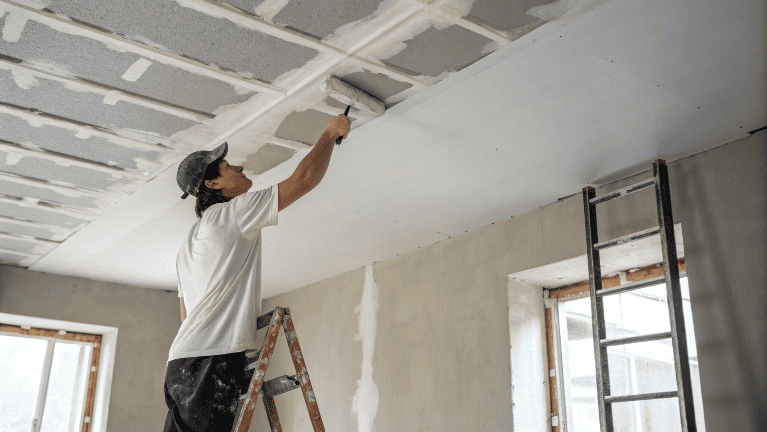
I increasingly see professional finishers implement systematic ripple prevention through controlled techniques and environmental management for superior seam quality.
Understanding ripple causes enables targeted prevention strategies and consistent professional-quality results.
Ripple Formation Analysis
| Ripple Cause | Formation Mechanism | Technical Explanation | Prevention Strategy | Professional Solution |
|---|---|---|---|---|
| Uneven base compound | Thickness variation | Differential stress concentration | Uniform application | Precision technique |
| Poor tape embedding | Inadequate pressure | Incomplete substrate contact | Proper embedding pressure | Professional tools |
| Moisture variation | Uneven hydration | Differential expansion/contraction | Controlled moisture content | Environmental management |
| Rapid drying | Stress concentration | Uneven shrinkage patterns | Climate control | Optimal conditions |
Understanding formation mechanisms enables targeted prevention and quality control.
Base Compound Application Issues
| Application Problem | Technical Impact | Quality Consequence | Correction Method | Prevention Technique |
|---|---|---|---|---|
| Thickness variation | Uneven stress distribution | Ripple formation | Level application | Consistent technique |
| Poor substrate prep | Inadequate adhesion | Movement potential | Proper preparation | Quality standards |
| Contamination issues | Reduced bonding | Localized failures | Clean application | Cleanliness protocols |
| Tool marks | Surface irregularities | Stress concentrations | Smooth finishing | Professional tools |
Base compound quality directly affects tape performance and ripple prevention.
Tape Embedding Problems
| Embedding Issue | Mechanical Cause | Performance Impact | Quality Solution | Professional Method |
|---|---|---|---|---|
| Insufficient pressure | Poor contact | Incomplete bonding | Adequate force | Proper technique |
| Excessive pressure | Over-compression | Compound squeeze-out | Balanced pressure | Controlled application |
| Uneven pressure | Variable contact | Differential bonding | Consistent technique | Professional skill |
| Improper angle | Poor tool contact | Incomplete embedding | Correct knife angle | Training requirements |
Proper embedding technique ensures optimal tape-compound integration and ripple prevention.
Environmental Stress Factors
| Environmental Factor | Stress Mechanism | Ripple Contribution | Control Method | Quality Assurance |
|---|---|---|---|---|
| Temperature fluctuation | Thermal expansion | Dimensional changes | Climate stability | Monitoring systems |
| Humidity variation | Moisture cycling | Swelling/shrinkage | Humidity control | Environmental management |
| Air movement | Uneven drying | Differential stress | Draft control | Ventilation management |
| Rapid drying | Shrinkage stress | Surface tension | Controlled drying | Optimal conditions |
Environmental control minimizes stress factors and prevents ripple formation.
Material Quality Impact
| Material Factor | Quality Influence | Ripple Susceptibility | Selection Criteria | Performance Optimization |
|---|---|---|---|---|
| Tape quality | Dimensional stability | Resistance to rippling | Premium products | Manufacturer certification |
| Compound formulation | Working properties | Application ease | Professional grade | Performance specifications |
| Fiber content | Reinforcement effect | Structural stability | Optimal fiber type | Technical requirements |
| Adhesive properties | Bonding strength | Substrate integration | Compatibility testing | System optimization |
High-quality materials provide superior ripple resistance and application performance.
Substrate Preparation Requirements
| Preparation Factor | Quality Requirement | Ripple Prevention | Technical Method | Professional Standard |
|---|---|---|---|---|
| Surface cleanliness | Contamination-free | Optimal adhesion | Thorough cleaning | Cleanliness protocols |
| Moisture content | Controlled levels | Dimensional stability | Proper conditioning | Moisture management |
| Temperature uniformity | Even conditions | Consistent performance | Climate control | Environmental monitoring |
| Surface texture | Appropriate roughness | Mechanical bonding | Proper preparation | Surface requirements |
Proper substrate preparation provides optimal foundation for ripple-free installation.
Professional Correction Techniques
| Correction Method | Application Technique | Quality Recovery | Efficiency Consideration | Long-term Performance |
|---|---|---|---|---|
| Localized repair | Targeted intervention | Seamless correction | Minimal disruption | Permanent solution |
| Section replacement | Complete renewal | Full quality restoration | Comprehensive approach | Optimal results |
| Surface refinishing | Overall improvement | Enhanced appearance | Complete coverage | Superior quality |
| System upgrade | Material improvement | Performance enhancement | Investment approach | Long-term value |
Professional correction maintains quality standards and prevents recurring problems.
Prevention System Implementation
| Prevention Element | System Component | Quality Benefit | Implementation Method | Performance Assurance |
|---|---|---|---|---|
| Material selection | Quality products | Inherent resistance | Specification standards | Supplier certification |
| Technique training | Skill development | Consistent results | Professional education | Competency verification |
| Environmental control | Climate management | Optimal conditions | System installation | Continuous monitoring |
| Quality protocols | Systematic inspection | Defect prevention | Process implementation | Performance tracking |
Comprehensive prevention systems ensure consistent, professional-quality results.
Why Ripple Prevention Matters
| Basic Taping Acceptance | Professional Ripple Prevention |
|---|---|
| Minor defect tolerance | Zero-ripple quality standard |
| Experience-based methods | Scientific prevention approach |
| Reactive problem solving | Systematic quality control |
Professional ripple prevention ensures superior seam quality and customer satisfaction.
The Industry Shift Behind Quality Questions
| Traditional Taping Standards | Advanced Quality Systems |
|---|---|
| Acceptable defect levels | Professional perfection standards |
| Basic technique reliance | Comprehensive prevention systems |
| Limited quality control | Systematic quality assurance |
I increasingly see professional finishers implement comprehensive ripple prevention systems combining quality materials, controlled techniques, environmental management, and systematic quality control for superior drywall seam finishing.
Why Is My Drywall Tape Showing After Sanding?
Drywall tape shows after sanding due to insufficient compound layers, improper feathering technique, inadequate compound thickness over tape edges, premature sanding, or using wrong sandpaper grit, requiring additional compound coats and proper finishing techniques for invisible seams. Tape visibility indicates inadequate compound coverage and finishing technique deficiencies.
TRUSUS tape visibility insight: drywall tape showing after sanding reveals systematic finishing problems requiring analysis of compound application, layer building, sanding technique, and surface preparation for professional invisible seams.
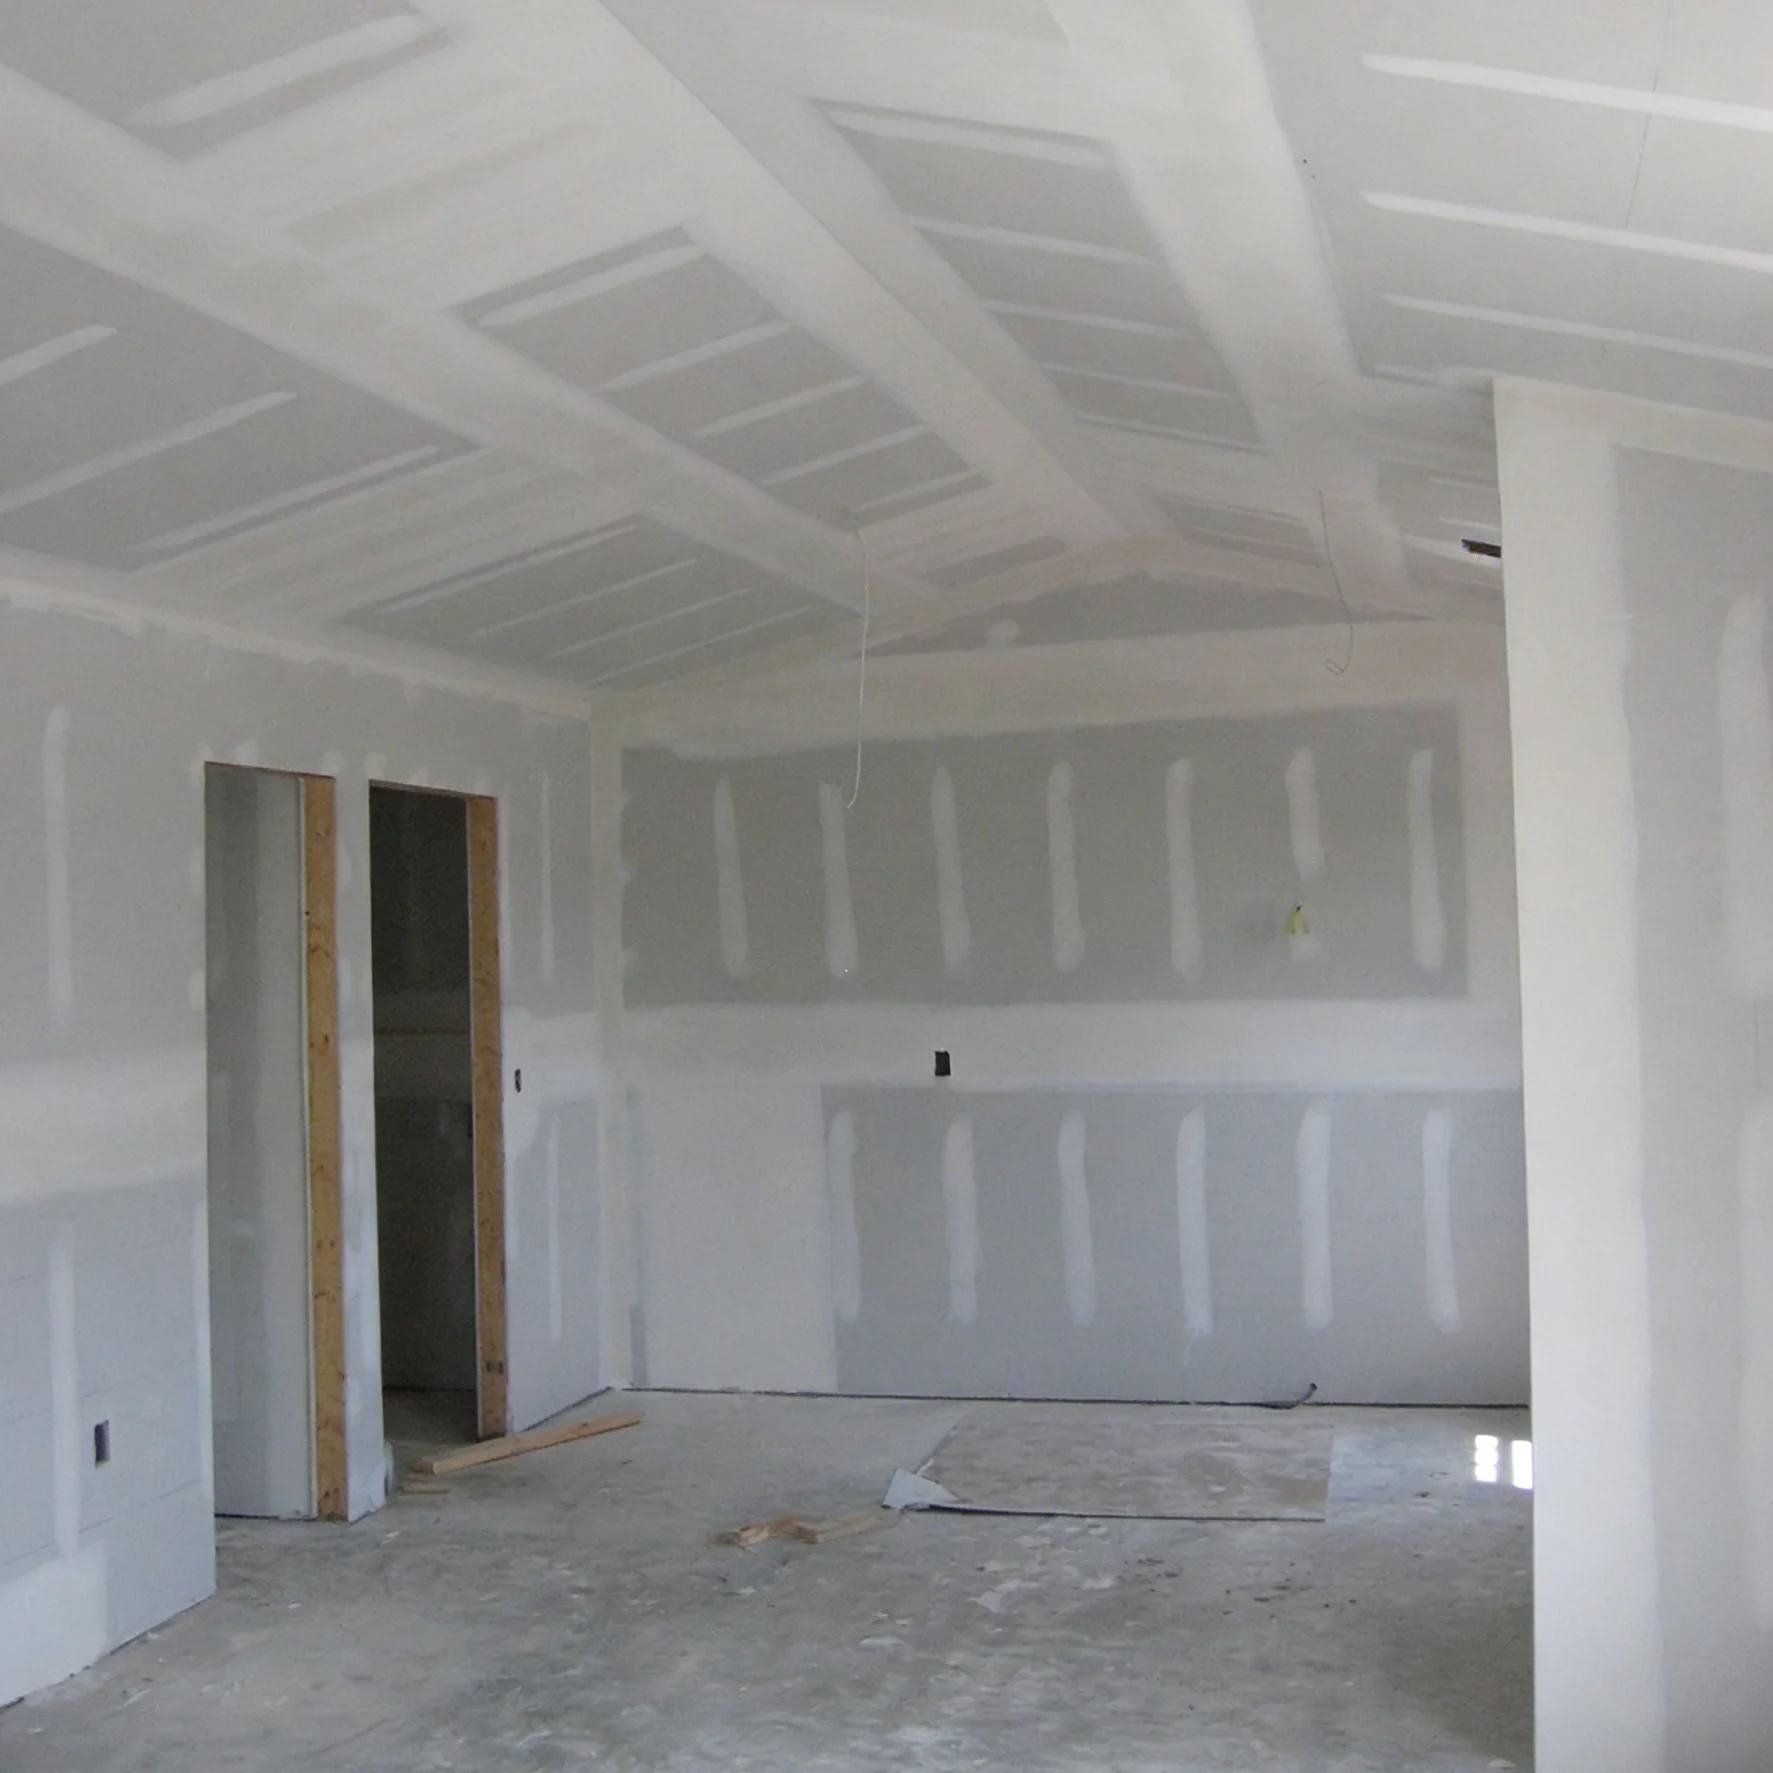
I increasingly see professional finishers implement systematic compound layering and finishing techniques to achieve completely invisible tape seams.
Understanding tape visibility causes enables proper correction and prevention for professional-quality invisible seams.
Compound Layer Analysis
| Layer Function | Thickness Requirement | Coverage Area | Quality Standard | Visibility Prevention |
|---|---|---|---|---|
| Embedding coat | Tape thickness + 1mm | Tape width | Complete coverage | Foundation layer |
| Fill coat | 2-3mm center | 150-200mm wide | Smooth transition | Gradient building |
| Finish coat | 1-2mm feather | 250-300mm wide | Seamless blend | Invisible transition |
| Texture coat | Variable | Full coverage | Uniform appearance | Final integration |
Systematic layering ensures adequate compound thickness for invisible tape integration.
Feathering Technique Requirements
| Feathering Aspect | Technical Requirement | Quality Standard | Professional Method | Invisibility Achievement |
|---|---|---|---|---|
| Edge gradient | Gradual thickness reduction | Imperceptible transition | Multiple passes | Smooth integration |
| Width progression | Increasing layer width | Progressive coverage | Systematic building | Seamless blending |
| Surface smoothness | No ridges or valleys | Perfect flatness | Skilled technique | Professional finish |
| Compound density | Uniform consistency | Even application | Quality materials | Optimal performance |
Proper feathering technique creates seamless transitions and invisible tape edges.
Sanding Technique Impact
| Sanding Factor | Improper Technique | Quality Consequence | Correct Method | Professional Result |
|---|---|---|---|---|
| Sandpaper grit | Too coarse | Tape exposure | Progressive grits | Smooth finish |
| Sanding pressure | Excessive force | Compound removal | Light pressure | Controlled material removal |
| Sanding pattern | Random motion | Uneven surface | Systematic approach | Consistent results |
| Timing | Premature sanding | Incomplete cure | Proper drying time | Optimal workability |
Proper sanding technique preserves compound coverage while achieving smooth surfaces.
Compound Thickness Assessment
| Measurement Point | Minimum Thickness | Quality Requirement | Assessment Method | Correction Strategy |
|---|---|---|---|---|
| Tape center | 3-4mm total | Complete coverage | Physical measurement | Additional coats |
| Tape edges | 2-3mm taper | Gradual transition | Visual inspection | Enhanced feathering |
| Feather edge | 0.5-1mm | Invisible blend | Light test | Extended coverage |
| Surface flatness | Level tolerance | ±1mm deviation | Straightedge check | Spot corrections |
Adequate thickness assessment ensures sufficient material for invisible finishing.
Material Quality Factors
| Quality Factor | Performance Impact | Visibility Influence | Selection Criteria | Professional Advantage |
|---|---|---|---|---|
| Compound shrinkage | Thickness reduction | Potential exposure | Low-shrinkage formula | Maintained coverage |
| Adhesion strength | Bond integrity | Edge stability | High-performance products | Reliable attachment |
| Workability period | Application window | Finishing quality | Extended open time | Optimal results |
| Surface hardness | Sanding characteristics | Finish quality | Appropriate hardness | Professional finish |
High-quality materials provide superior performance and invisibility characteristics.
Environmental Impact Analysis
| Environmental Factor | Performance Effect | Visibility Risk | Control Method | Quality Assurance |
|---|---|---|---|---|
| Drying rate | Compound behavior | Premature hardening | Climate control | Optimal conditions |
| Temperature stability | Curing consistency | Uniform performance | Environmental management | Consistent results |
| Humidity control | Shrinkage variation | Dimensional stability | Moisture management | Predictable behavior |
| Air circulation | Even drying | Surface uniformity | Ventilation control | Consistent quality |
Environmental control ensures predictable compound performance and optimal finishing.
Professional Correction Methods
| Correction Technique | Application Method | Quality Recovery | Efficiency Factor | Long-term Solution |
|---|---|---|---|---|
| Spot coating | Targeted application | Localized repair | Quick correction | Effective solution |
| Full recoating | Complete coverage | Comprehensive repair | Thorough approach | Optimal results |
| Surface refinishing | Total renovation | Complete quality restoration | Investment approach | Superior finish |
| System upgrade | Enhanced materials | Performance improvement | Quality investment | Premium results |
Professional correction techniques restore invisible seam quality and prevent recurrence.
Quality Control Protocols
| Control Point | Inspection Method | Quality Standard | Correction Trigger | Prevention Measure |
|---|---|---|---|---|
| Layer thickness | Physical measurement | Specification compliance | Below minimum | Additional coating |
| Edge feathering | Visual assessment | Invisible transition | Visible edge | Enhanced technique |
| Surface smoothness | Tactile inspection | No imperfections | Texture variation | Refinishing |
| Overall integration | Light examination | Seamless appearance | Tape visibility | Complete correction |
Systematic quality control ensures invisible seam achievement and professional standards.
Prevention Strategy Implementation
| Prevention Element | Implementation Method | Quality Benefit | Professional Requirement | Performance Assurance |
|---|---|---|---|---|
| Technique training | Skill development | Consistent quality | Professional education | Competency verification |
| Material specification | Quality selection | Performance reliability | Product standards | Supplier certification |
| Process standardization | Systematic approach | Predictable results | Procedure documentation | Quality consistency |
| Quality monitoring | Continuous assessment | Defect prevention | Inspection protocols | Performance tracking |
Comprehensive prevention strategies ensure consistent invisible seam achievement.
Why Invisible Seams Matter
| Basic Taping Standards | Professional Invisibility |
|---|---|
| Acceptable tape visibility | Complete invisibility requirement |
| Basic finishing technique | Advanced professional methods |
| Standard quality acceptance | Premium quality standards |
Professional invisible seam finishing ensures superior appearance and customer satisfaction.
The Industry Shift Behind Quality Questions
| Traditional Finishing Standards | Advanced Invisibility Systems |
|---|---|
| Acceptable minor defects | Perfect invisibility standards |
| Basic technique application | Scientific finishing methods |
| Standard quality expectations | Premium quality delivery |
I increasingly see professional finishers implement systematic invisibility techniques combining proper layering, advanced feathering, controlled sanding, and quality materials for completely invisible drywall tape seams.
Should You Wet Your Drywall Tape?
Pre-wetting drywall tape is recommended for paper tape to improve workability, reduce air bubbles, enhance compound adhesion, and prevent tape shrinkage, using 2-5 minute soaking time with controlled moisture content (40-60%) for optimal installation performance and quality. Proper pre-wetting significantly improves tape installation quality and reduces defects.
TRUSUS tape wetting insight: drywall tape pre-wetting involves understanding moisture effects on tape behavior, compound interaction, installation quality, and performance optimization for superior seam finishing results.
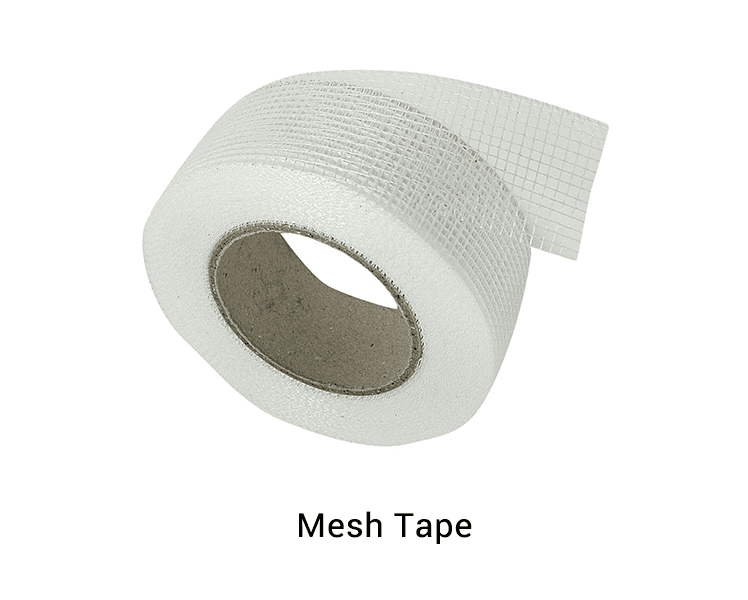
I increasingly see professional tapers implement controlled pre-wetting techniques for improved installation quality and reduced defect rates.
Understanding tape wetting benefits and techniques ensures optimal installation performance and professional results.
Pre-Wetting Benefits Analysis
| Benefit Category | Technical Advantage | Quality Improvement | Performance Enhancement | Professional Value |
|---|---|---|---|---|
| Workability | Enhanced flexibility | Easier positioning | Reduced installation stress | Improved efficiency |
| Adhesion | Better compound penetration | Superior bonding | Enhanced integration | Long-term reliability |
| Bubble prevention | Reduced air entrapment | Smoother application | Defect elimination | Quality assurance |
| Dimensional stability | Controlled expansion | Reduced shrinkage | Consistent performance | Professional results |
Pre-wetting provides multiple technical and quality advantages for professional installation.
Moisture Content Optimization
| Moisture Level | Tape Characteristics | Installation Performance | Quality Impact | Professional Recommendation |
|---|---|---|---|---|
| Dry (0%) | Stiff, brittle | Difficult handling | Potential cracking | Not recommended |
| Light (20-30%) | Slightly flexible | Moderate workability | Basic performance | Minimal benefit |
| Optimal (40-60%) | Flexible, conformable | Excellent workability | Superior quality | Professional standard |
| Excessive (70%+) | Too soft, fragile | Handling difficulties | Potential damage | Avoid over-wetting |
Optimal moisture content balances workability with structural integrity for best results.
Soaking Time Requirements
| Tape Type | Soaking Duration | Moisture Absorption | Workability Window | Quality Optimization |
|---|---|---|---|---|
| Standard paper | 2-3 minutes | Controlled absorption | 15-20 minutes | Basic optimization |
| Reinforced paper | 3-4 minutes | Enhanced penetration | 20-30 minutes | Improved performance |
| Perforated tape | 1-2 minutes | Rapid absorption | 10-15 minutes | Fast processing |
| Mesh tape | Not applicable | No wetting needed | Immediate use | Alternative approach |
Different tape types require specific soaking parameters for optimal performance.
Application Technique Integration
| Technique Factor | Dry Tape Method | Pre-Wetted Method | Performance Comparison | Professional Advantage |
|---|---|---|---|---|
| Initial positioning | Difficult placement | Easy conforming | Significant improvement | Enhanced control |
| Compound integration | Surface bonding | Deep penetration | Superior adhesion | Long-term performance |
| Air bubble control | High risk | Minimal risk | Dramatic improvement | Quality assurance |
| Working time | Limited window | Extended period | Operational benefit | Installation efficiency |
Pre-wetting significantly improves application technique and installation quality.
Quality Control Considerations
| Control Aspect | Monitoring Method | Quality Standard | Professional Requirement | Performance Assurance |
|---|---|---|---|---|
| Moisture uniformity | Visual inspection | Even saturation | Consistent wetting | Uniform performance |
| Soaking time | Time control | Specification compliance | Accurate timing | Optimal results |
| Water quality | Clean water use | Contamination-free | Quality water source | Pure application |
| Storage conditions | Proper handling | Moisture retention | Controlled environment | Consistent quality |
Quality control ensures consistent pre-wetting results and professional performance.
Environmental Impact Factors
| Environmental Factor | Wetting Effect | Performance Impact | Control Method | Quality Maintenance |
|---|---|---|---|---|
| Temperature | Absorption rate | Moisture behavior | Climate control | Consistent conditions |
| Humidity | Drying characteristics | Working time | Environmental management | Optimal performance |
| Air movement | Moisture loss | Application window | Draft control | Extended workability |
| Contamination | Water purity | Adhesion quality | Clean procedures | Quality assurance |
Environmental control optimizes pre-wetting effectiveness and installation quality.
Tape Type Compatibility
| Tape Category | Wetting Requirement | Technical Rationale | Application Method | Performance Benefit |
|---|---|---|---|---|
| Paper tape | Always recommended | Fiber activation | Controlled soaking | Maximum benefit |
| Fiberglass mesh | Not applicable | Synthetic material | Direct application | No benefit |
| Composite tape | Selective wetting | Hybrid construction | Manufacturer guidance | Variable benefit |
| Specialty tape | Product-specific | Unique properties | Technical specifications | Optimized performance |
Different tape types have specific wetting requirements based on material properties.
Professional Implementation
| Implementation Factor | Standard Practice | Professional Method | Quality Enhancement | Efficiency Benefit |
|---|---|---|---|---|
| Wetting setup | Basic soaking | Systematic process | Consistent results | Operational efficiency |
| Timing control | Approximate timing | Precise scheduling | Optimal performance | Quality assurance |
| Quality monitoring | Basic observation | Systematic inspection | Defect prevention | Professional standards |
| Technique integration | Isolated step | System approach | Comprehensive quality | Enhanced results |
Professional implementation maximizes pre-wetting benefits and installation quality.
Common Misconceptions
| Misconception | Reality | Technical Explanation | Professional Guidance | Quality Impact |
|---|---|---|---|---|
| "Wetting weakens tape" | Improves performance | Enhanced flexibility | Recommended practice | Quality improvement |
| "Adds complexity" | Simplifies installation | Easier handling | Operational benefit | Efficiency gain |
| "Causes problems" | Prevents defects | Superior integration | Quality assurance | Defect reduction |
| "Unnecessary step" | Essential technique | Professional standard | Best practice | Performance optimization |
Understanding facts versus misconceptions enables optimal technique implementation.
Why Pre-Wetting Matters
| Standard Dry Application | Professional Pre-Wetting |
|---|---|
| Difficult tape handling | Enhanced workability |
| Higher defect rates | Superior quality control |
| Limited performance | Optimized results |
Professional pre-wetting significantly improves installation quality and reduces defects.
The Industry Shift Behind Technique Questions
| Traditional Taping Methods | Advanced Pre-Wetting Systems |
|---|---|
| Basic dry application | Scientific moisture control |
| Experience-based techniques | Optimized performance methods |
| Standard quality acceptance | Enhanced quality delivery |
I increasingly see professional tapers implement systematic pre-wetting techniques that optimize moisture content, improve workability, enhance adhesion, and deliver superior drywall seam finishing quality through scientific material preparation methods.
Conclusion
At TRUSUS, I see drywall finishing evolving from basic taping toward professional quality systems including bubble prevention techniques, ripple elimination methods, invisible seam achievement, and optimized tape preparation for superior finishing results. Success requires treating drywall finishing as an integrated quality system demanding systematic analysis of material preparation, application techniques, environmental control, and quality assurance for professional-grade seamless wall surfaces and long-term performance excellence.