

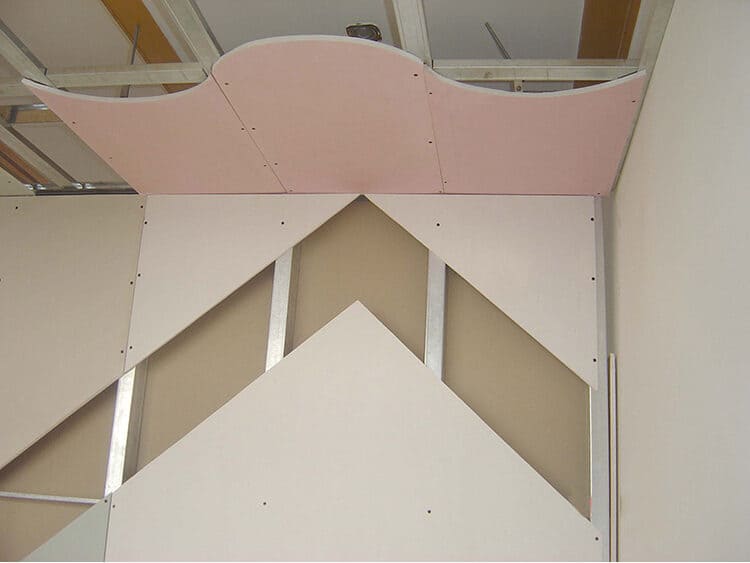
The proper nailing surface for gypsum board is a flat, stable framing system made from wood or steel studs that meets alignment and spacing standards. Uneven or weak framing can cause cracks, screw pops, and surface deformation over time.
TRUSUS installation insight: gypsum board performance depends heavily on the precision of the supporting structure.

Many people think gypsum board installation simply means attaching panels to framing.
But after years in the drywall system industry, I have learned that long‑term wall stability starts with the accuracy of the base structure itself.
A proper nailing surface usually requires:
- Flat framing alignment
- Correct stud spacing
- Stable structural support
- Consistent material thickness
Even small framing deviations can create stress concentration across the wall system.
Recommended Framing Standards
| Item | Recommended Tolerance |
|---|---|
| Stud flatness | ≤ 2 mm |
| Stud spacing deviation | ≤ 3 mm |
| Vertical alignment | ≤ 3 mm |
| Steel thickness | ≥ 0.6 mm |
In many older projects, installers relied on the idea that surface compound could later hide small framing problems.
But real project data shows something different.
Minor installation inaccuracies often become the source of:
- Joint cracking
- Surface waves
- Screw popping
- Edge deformation
That is why high‑quality projects now focus much more on installation precision rather than only material quality.
Modern drywall systems are becoming precision construction systems.
How To Nail Gypsum Board?
Gypsum board should be nailed or screwed evenly into framing members with proper spacing, correct edge distance, and controlled fastening depth. Fasteners should secure the board firmly without breaking the paper surface.
TRUSUS construction insight: correct fastening balances structural stability and movement flexibility.
Basic Fastening Guidelines
| Installation Detail | Recommended Practice |
|---|---|
| Edge distance | 10–15 mm |
| Screw depth | Slightly below surface |
| Paper damage | Avoid tearing |
| Fastener alignment | Straight and even |
In traditional construction, fastening patterns often depended on installer experience.
One worker might place fasteners closely. Another might space them much farther apart.
Today, gypsum board systems use much more standardized fastening methods because long‑term wall behavior is now better understood.
A fastening system must achieve two goals at the same time:
- Provide enough holding strength
- Allow controlled movement within the wall system
If fasteners are installed incorrectly, stress can accumulate around the board edges and joints.
That often leads to visible failures months or years later.
I believe this change reflects a larger trend in the building industry.
Drywall installation is moving from craft‑based work toward engineered system control.
What Is The Nail Spacing For Gypsum Board?
Typical gypsum board nail or screw spacing is about 200 mm on board edges and 300 mm in the field for walls. Ceilings usually require closer spacing because of gravity load and movement stress.
TRUSUS engineering insight: fastener spacing is based on long‑term performance data, not installation habit.
Recommended Fastener Spacing
| Application | Edge Spacing | Field Spacing |
|---|---|---|
| Wall system | 200 mm | 300 mm |
| Ceiling system | 150 mm | 200 mm |
Many people assume tighter fastener spacing automatically creates a stronger wall.
But in practice, the relationship is more complex.
Through long‑term engineering observation, the industry found that both excessive spacing and excessive fastening create problems.
Common Fastening Problems
| Problem | Cause |
|---|---|
| Joint cracking | Fasteners too far apart |
| Surface stress | Fasteners too close |
| Board movement | Insufficient fastening |
| Deformation | Over‑constraint |
Correct spacing creates a balance between rigidity and flexibility.
That balance is especially important because buildings constantly experience:
- Temperature changes
- Humidity variation
- Structural movement
- Vibration
Modern drywall systems are designed not only to stay fixed, but also to absorb and distribute movement safely over time.
This is one reason why standardized fastening layouts have become essential in professional construction projects.
What Finish Level Is Required For Gypsum Board In Painted Areas?
Painted gypsum board areas usually require at least Level 4 finish for smooth visual appearance. High‑gloss paint or critical lighting conditions may require Level 5 finish for the best surface uniformity.
TRUSUS finishing insight: final wall appearance depends more on surface preparation than paint quality alone.

Gypsum Board Finish Levels
| Finish Level | Typical Application |
|---|---|
| Level 1 | Concealed areas |
| Level 3 | Basic decorative surfaces |
| Level 4 | Standard painted walls |
| Level 5 | High‑end finishes and gloss paint |
Many customers focus heavily on paint brands when evaluating wall quality.
But from my experience, the substrate preparation level often matters far more.
Two walls can use the same paint and still produce completely different visual results because of different finish preparation standards.
Poor finishing usually creates problems like:
- Visible joints
- Surface shadows
- Uneven texture
- Light reflection defects
Level 4 finishing typically includes:
- Smooth joint treatment
- Proper sanding
- Uniform surface preparation
Level 5 adds a full skim coat to create maximum surface consistency.
As modern interiors demand cleaner and more refined finishes, surface preparation standards continue to increase.
This shift is changing the role of gypsum board manufacturers.
Today, clients expect not only quality panels, but also complete installation and finishing systems that deliver predictable final results.
Conclusion
At TRUSUS, I see gypsum board systems evolving from simple building materials into precision installation systems. Long‑term wall quality now depends on fastening accuracy, surface preparation, and standardized construction methods working together as one integrated solution.